 App Store
 Play Store
15 September
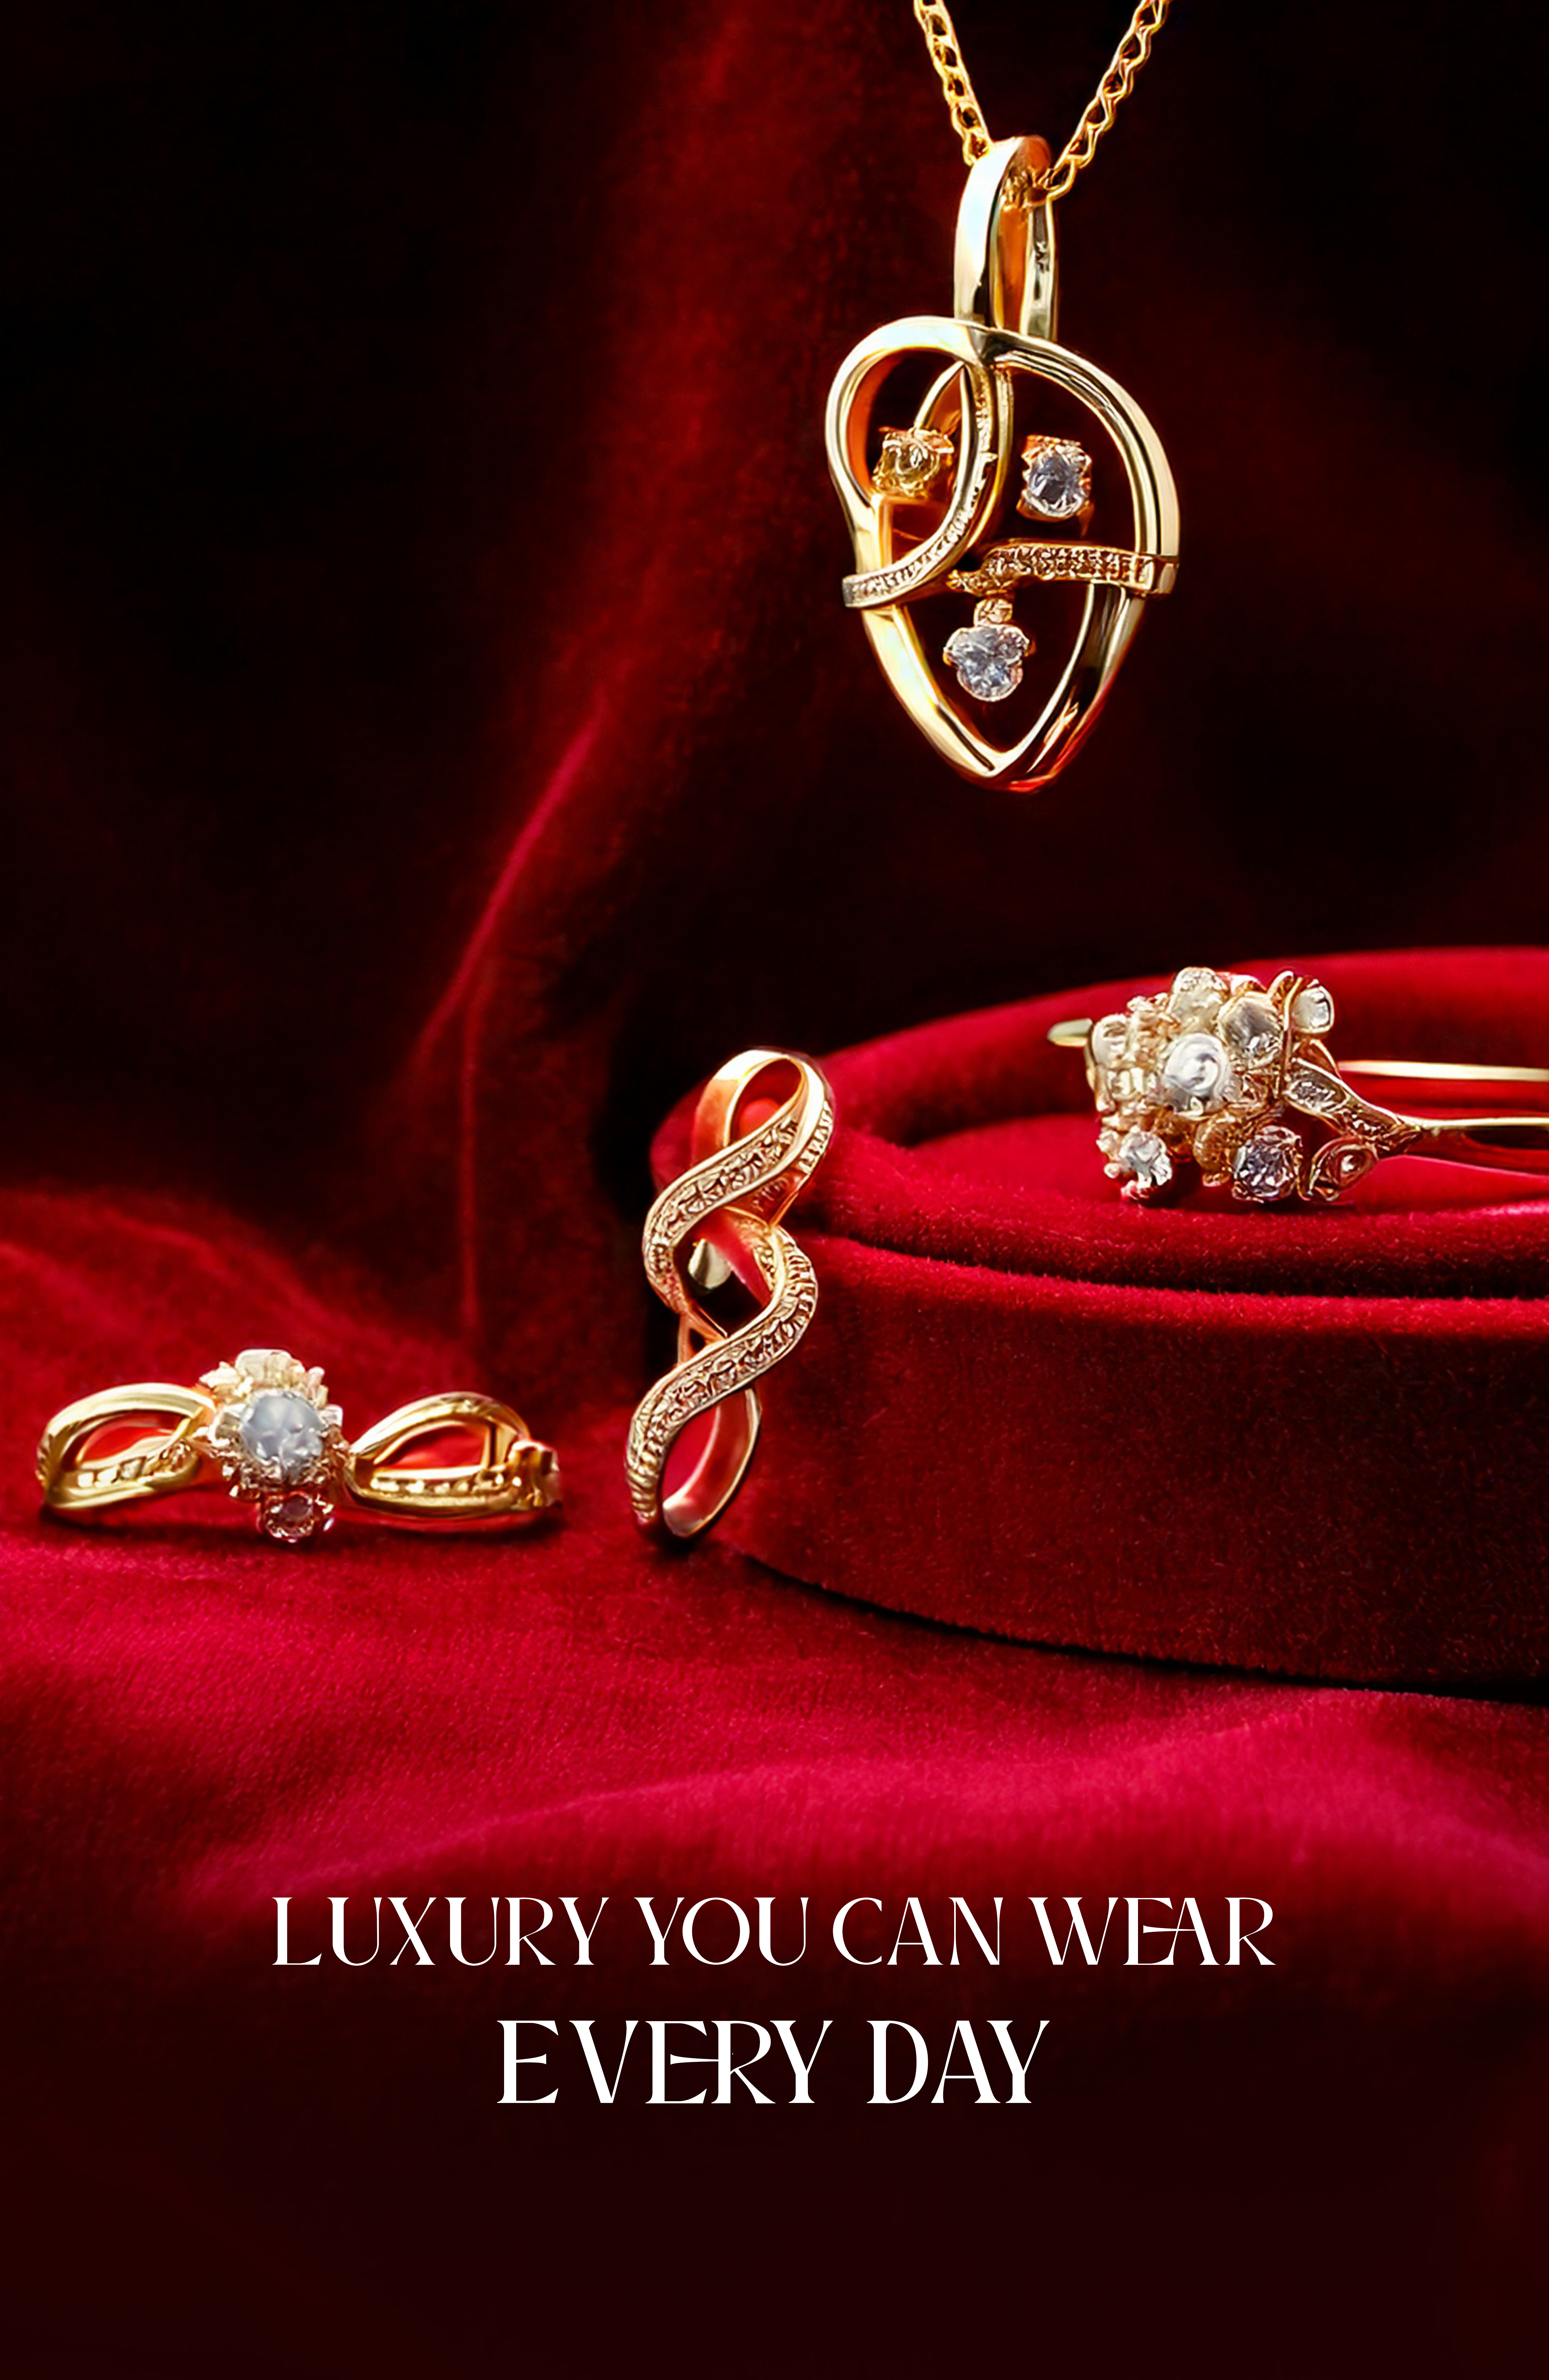
How Jewellery is Made: From Sketch to Shine
Have you ever looked at a beautiful piece of jewellery and wondered, How did someone make that? Behind every necklace, ring, or pair of earrings is an intricate journey — one that blends artistry, craftsmanship, and science.
From the first spark of inspiration to the final polish, let’s take you behind the scenes and explore how jewellery is made — from sketch to shine.
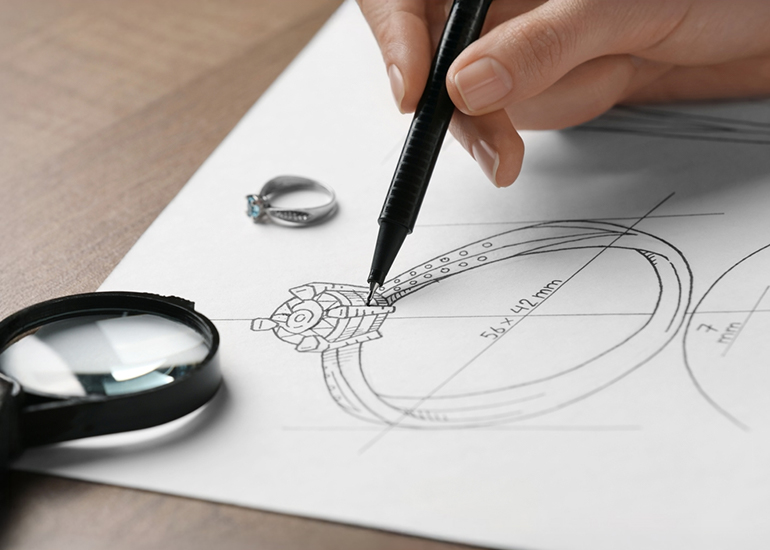
1. The Inspiration & Sketching Stage
Every masterpiece starts with an idea.
Designers often draw inspiration from nature, architecture, history, emotions, or even personal stories. Once the vision is clear, it’s time to bring it to life — on paper (or tablet).
Initial sketches are drawn to explore shape, size, and setting.
Technical drawings follow — showing scale, dimensions, and precise stone placement.
It’s where creativity meets engineering — and the jewellery's personality starts to take shape.
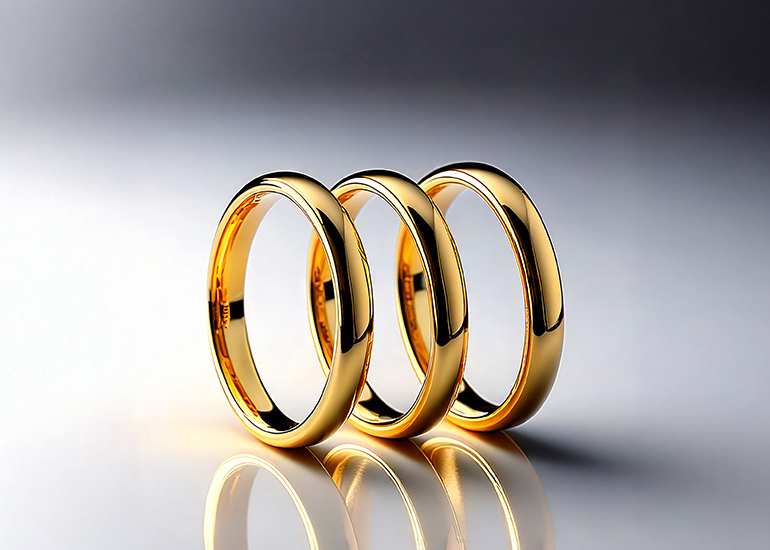
2. Choosing Materials: Metals & Gemstones
Next, it's time to select the materials that will bring the design to life.
- Metals: Gold (14k, 18k, or 24k), silver, platinum, or alternative materials like titanium or rose gold.
- Gemstones: Diamonds, sapphires, emeralds, rubies, pearls — each chosen for cut, color, clarity, and carat weight.
3. Creating the Wax or Digital Model
This is where things get tangible.
- Traditionally, jewellers carved the design in wax to create a 3D prototype.
- Today, many use CAD (Computer-Aided Design) software to render ultra-precise digital models.
4. Casting the Piece
This is where the magic happens.
Using the wax model, a mould is created (often using a plaster-like material). The wax is then melted out, leaving a hollow space. This is called the lost-wax casting method — a centuries-old technique still used today.
- Molten metal is poured into the mould.
- Once cooled, the mould is broken away, revealing a rough version of the final piece.
5. Cleaning, Polishing & Assembling
After casting, the piece is carefully cleaned and assembled:
- Polishing: The surface is smoothed and buffed to achieve a brilliant shine.
- Assembly: If the piece includes multiple parts (like a locket or earrings), they’re joined at this stage.
6. Stone Setting
Now for the sparkle.
Expert stone setters place each gemstone into its designated setting. This could be:
- Prong setting (most common for engagement rings)
- Bezel setting
- Pavé setting
- Channel setting
7. Final Inspection & Quality Check
Before it reaches you, every piece goes through a final inspection.
- Are all stones secure?
- Is the finish flawless?
- Does it match the design?
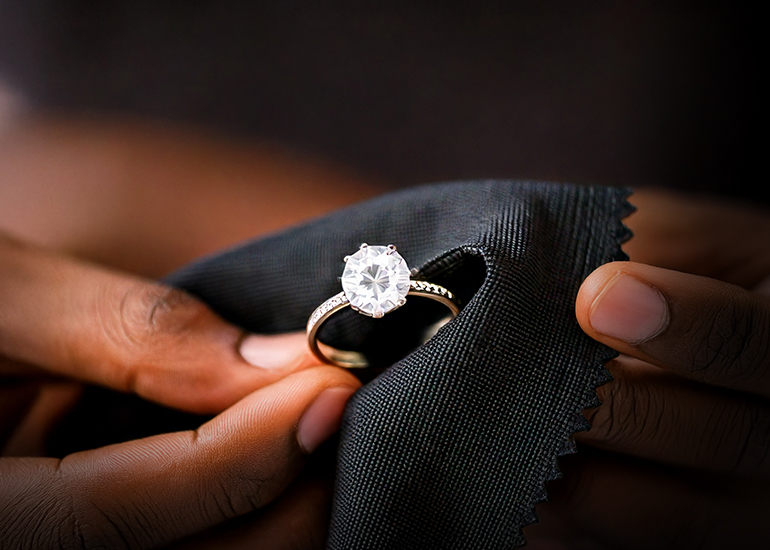
8. Packaging & Presentation
Finally, your piece is packaged — often in a beautiful box or pouch — ready to be gifted, worn, and treasured.
Some pieces also come with:
- Certificates (especially for diamonds)
- Care instructions
- Branding elements that add a luxurious finishing touch

Recent Posts
April 22, 2025
Understanding Different Types of Gold: 14k vs. 18k vs. 24k
March 12, 2025
Upcycling Old Jewellery: Creative Ideas for a Fresh Look
April 14, 2025
Leave a Comments
Your email address will not be published. Required fields are marked *